
You do not get the dream to reality by pounding hot iron hoping that something will happen, maybe. Forging is only part of the job.
The following shows how I made the dream of a client happen.
In the beginning, there are drawings about the size of a postage stamp. It is a good way for me to visualise how the given space will be occupied. It defines a style. It gives me choices.
 |
| The one in the middle at the bottom of the right page was chosen. |
Then, I double the size.
 |
| All drawings, even the small ones are scaled. |
I double again.
 |
| Now we have something |
I can start studying details.
 |
| An idea for the foot of the grille |
Having met with the client to show drawings and make decisions, it gets serious. The following drawing is the last one before the 1/1 scale forge drawing. The scale is 1/4. It is easy to get photostats blown up at that scale. There you find a modification to the structure with explorations of variants, decisions as to the size of the material that will be used and each component is identified (A, B, etc.).
 |
| From here we go to 1/1 scale drawing |
Finaly, the shop drawing.
 |
| The book on the table gives an idea of the size of the grille |
Each component is transfered on Craft paper using carbon paper.
 |
| This job reminds one of these monks ... |
The back side of each drawing is rubbed with chalk.

All components are drawn, chalked up and ready to move to the forge.
 |
| This well organized pile is unfortunately quite temporary |
In the forge the drawing watches over me and what I do. There are some moments or is it days when one has to be reminded where he has been and where he is going.
 |
| Now, on with the forging. |
When you trace the chalked up drawing on a steel table, the drawing appears on the table. It then becomes like a jig on which you can lay hot metal and mesure your progress.In the case shown in the picture below, the component must precisely follow the drawing. That is one of the points where the grill touches the wall. The walls cannot be adjusted...
 |
| Adjusting. |
It works.
 |
| It fits! |
The forging done, the grill can be assembled. This grill will hold together with rivets. But because there are final adjustments (a component might have the desired curves but may not be straight on another plane)to insure the grille is flat, it is first assembled with regular bolts. These bolts also help keeping the pieces together when riveting.
 |
| A search for order in disorder |
All available means are used in the assembly process. The plywood represents the wall and the ceiling where the grill will be hung.
 |
| All hands on deck! |
Finaly, installation. The legs of the grille are bolted in place with bolts I forged in a mushroom shape.
 |
| mushrooms under a tree are a normal occurence... |
The foot of the grille.
 |
| The installation of this grille was a breeze. |
I admire the work of Fritz Kühn. Here is a system he devised for holding a grille.
 |
| The elegance of simplicity |
As much as I could, I emulated him.
 |
That iron would take organic forms
between hammer and anvil facinates me

The bolts pinning the grille to the wall and the ceiling were forged in the shape of stylised flowers.
 |
| Flowers and leaves to hold branches.  |
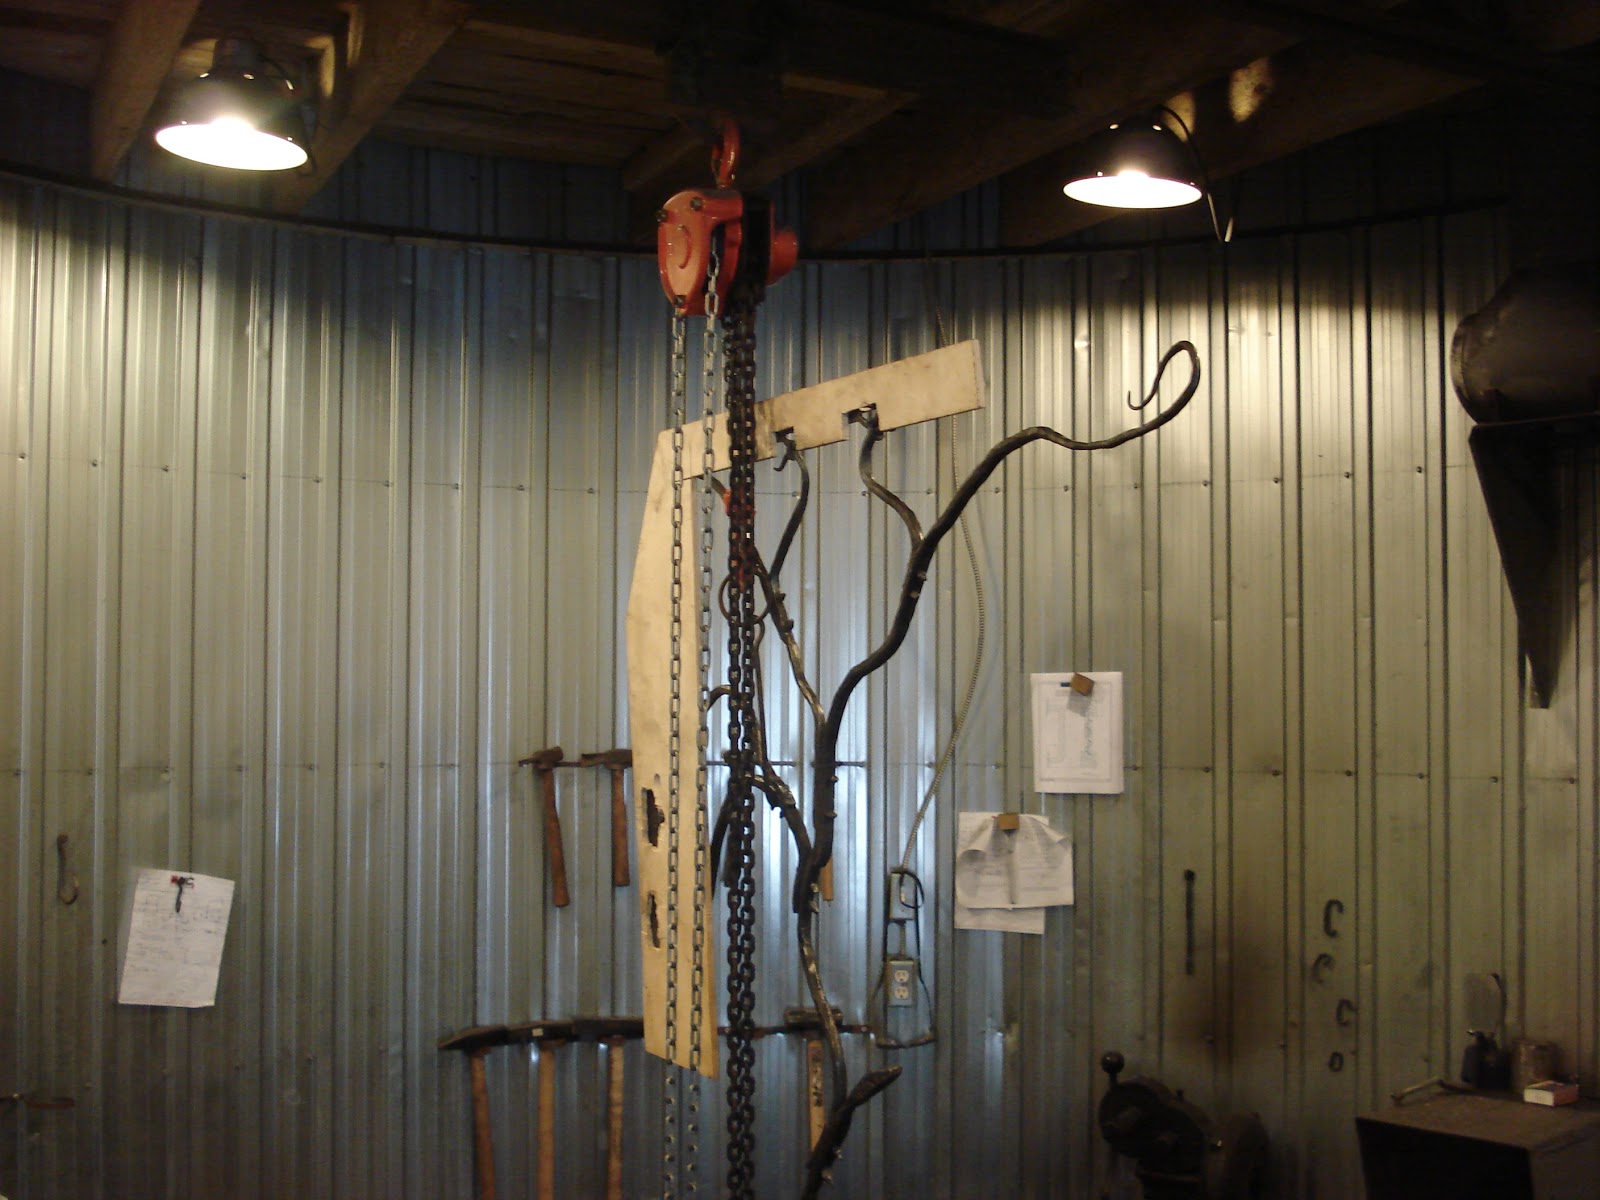
The grille is taking shape...
 |
| I also made the windows in the background The designs of the windows and the grille were inspired by the work of the Greene brothers in Passadena California. My client's home has definite bungalow elements as defined by the Greenes. They are the authors of the Gamble House. http://www.usc.edu/dept/architecture/greeneandgreene/157.html |
A slow process...

but the grille did happen!

The grille makes a light partition in rather confined space.

Aucun commentaire:
Enregistrer un commentaire